Roasting a chicken is one of the easiest things in the world to cook, and what a payoff!
I roast my chickens in a cast iron pan because it goes straight on the flame afterwards to make the gravy, but any stovetop-safe roasting tray that is large enough to hold your chicken will do.
I’ve listed the ingredients for just the roast chicken and gravy below, so don’t forget the sides!
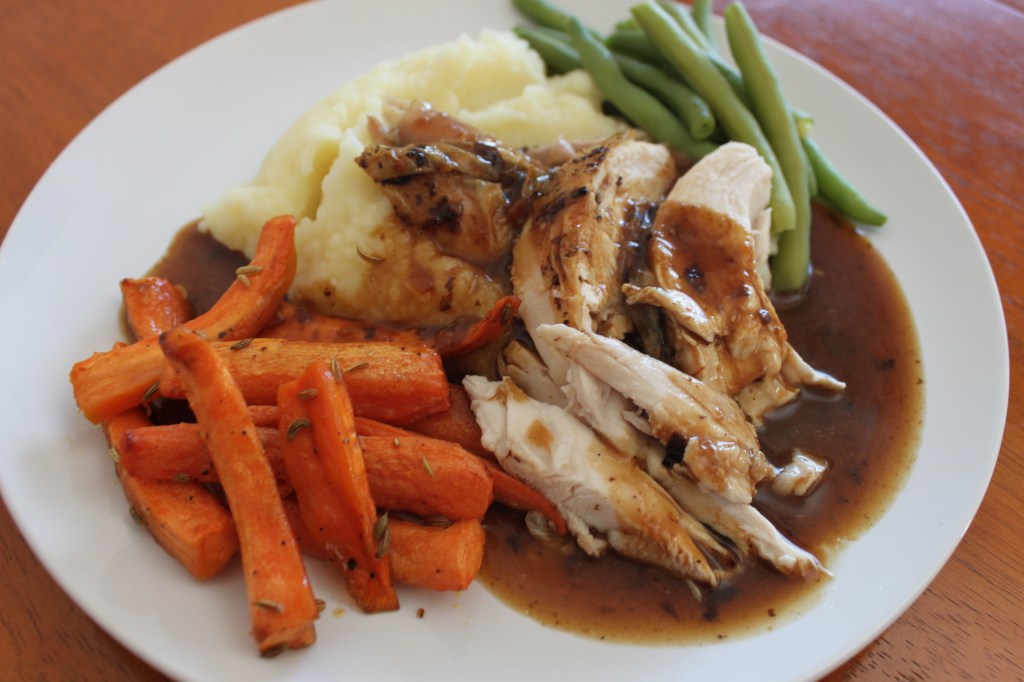
My dinner pictured above includes mashed potatoes, carrots roasted with honey and fennel, and steamed green beans. Other personal favourites with a roast chicken are roasted sweet potato and steamed broccoli, or boiled and buttered cabbage, but I’m not above a tin of corn kernels either. Sides with a roast chicken aren’t nearly as proscriptive as with a proper roast beef; just use whatever you have lying around that needs eating.
Feeds 4
Ingredients
1 whole chicken
Olive oil
Salt and pepper
Optional: all or some of the following: 2 carrots, 2 ribs of celery, 1 – 2 onions, few sprigs of herbs (thyme, rosemary, bay), 1/2 lemon
2 tbsp flour
500ml low-sodium chicken stock
Method

Take the chicken out of the fridge an hour before roasting to allow it to come up to room temperature.
Preheat the oven to 375F / 190C.
Roughly chunk up your vegetables (if using) and place in the bottom of your roasting tray with half the herbs. I don’t peel the onion – the skin makes the gravy beautifully dark and golden. (Just get rid of any dirt or really rough layers.) Drizzle the vegetables lightly with olive oil. Place the chicken on top. Drizzle over about 1 tbsp olive oil over the chicken and give it a little rub. Sprinkle all over with salt and pepper. Place the remaining herbs inside the cavity of the chicken along with the half lemon.
Place the roasting tray in the centre of the oven and cook for 1hr 40 mins, basting once at the 1hr mark. You may not get a lot of fat; don’t worry about it.
Prepare your sides while the chicken is roasting, insofar as you can get ahead. A bit of light clearing up at this stage will save you from a feeling of chaos later on.
After 1hr 40 minutes, check to see if the chicken is cooked. Place a dinner plate near the roasting pan and pick up the chicken using two forks. Holding the cavity downwards, check the colour of the juices coming out. (The dinner plate can offer a clean background against which to check this.) If the juices are brown or clear, it’s done. If the juices are running pink, don’t panic – just pop the chicken back in for 20 minutes and check again. It will be cooked by this point. If you’re unsure, use a meat thermometer by sticking it into the widest part of the leg.
After the chicken has cooked, pop a clean baking dish in the oven to heat up for a minute or two. Transfer the chicken to the warmed dish, cover with foil and then a clean tea towel and leave somewhere warm to rest.

Now you’re clear to make the gravy. Place the roasting tray on the hob and turn the heat on to medium. Chickens these days are very lean so it’s unlikely you’ll need to skim off the fat, but if you do, now is the moment. Leave a little behind to make the gravy, though. (You may even need to add a bit of butter if your chicken was very lean.)
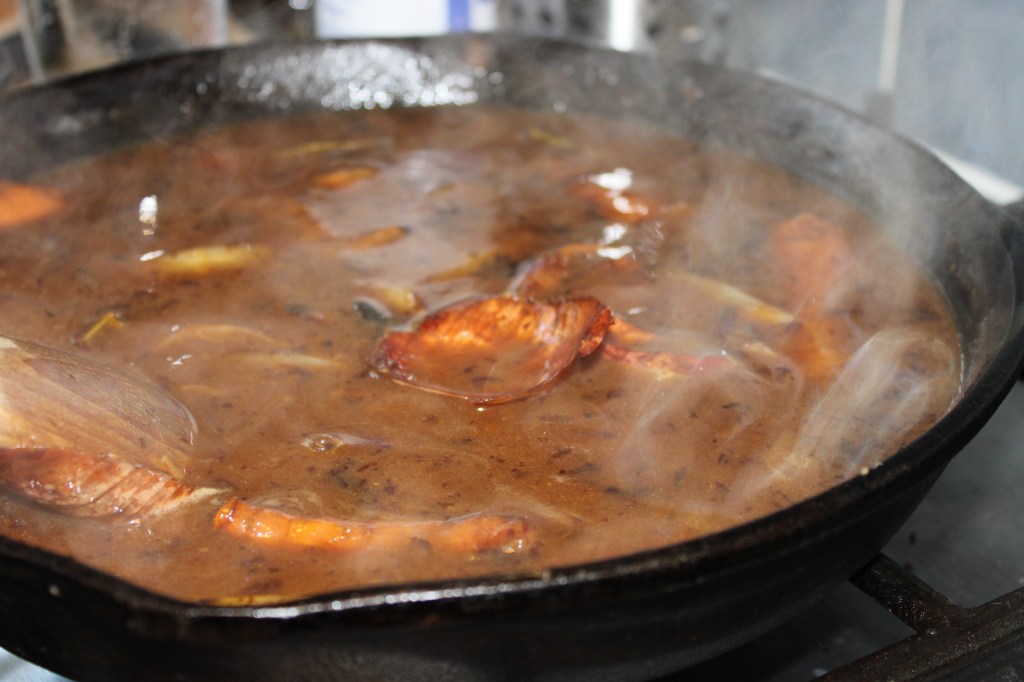
Add 2 tbsp of flour to the remaining fat and the dark, sticky vegetables (if applicable). Stir it around until it sizzles. Keep frying until the flour paste is dark and rich (2 – 5 minutes), scraping up the sticky bits on the bottom. Stirring constantly, add the stock and bring to a simmer. Continue scraping the bottom to get all the caramelized brown bits incorporated into the gravy – that’s where all the flavour is. Once simmering, reduce the heat and cook down for 20 – 30 minutes or until thick, dark and rich. At some stage fish out the half lemon from the chicken cavity and squeeze the juice and pulp into the gravy, discarding the lemon afterwards.
Taste the gravy and adjust, using Gravy SOS for a bit of help if required.
As the gravy simmers away, get on with whatever vegetables you’re eating this with. Just remember to give the gravy a stir now and again.
If you’re running behind with the sides and need to buy a bit more time, the gravy will happily keep on the lowest heat for an hour – just splash in some water to prevent it from getting too thick and burning. The chicken will stay hot for up to an hour and a half covered in its little foil and tea towel tent.
When it’s time to carve, cut the breasts away from the carcass by cutting straight down, just to the left and right of the bone that runs between the breasts. Follow the curve downwards and the breast will come off in one go. Place the breast down on the chopping board and carve into slices. Repeat on the other side. Remove the drumsticks whole – they may snap off easily or you may need to use your knife to get in between the joint. For the rest, just use your hands or a fork to pry it off the carcass into pieces. Transfer to a hot plate and keep warm under foil.
Before serving, if you’ve used vegetables in your gravy you’ll need to sieve them out. Place a large bowl under a colander and pour the gravy – vegetables and all – into the colander. Press down to get as much gravy out as possible, then swiftly pour the sieved gravy back into the pan. Once hot again (it won’t take long), pour into a gravy boat (or a mug with a spoon) and serve alongside your carved chicken and chosen sides.

Delicious!
LikeLike
Just stir it, Una!
LikeLiked by 1 person